In this post I’ll walk you through how to set up Blokada, an open-source (see project) DNS resolution-based ad blocker for Android. It is highly configurable, and doesn’t drain your battery as it installs itself as a “on-device only” VPN inside the Android networking stack.
On Play Store, you’ll only find Blokada Slim, with cut down functionality, as ad blocking is against the Play Store terms of service. However, it is easily installable via F-Droid, the open-source app store for Android.
Why?
Let’s start with a short description of what I think of ads. I do think that ad-supported content creation is how we ended up with the Internet of plenty. It has its downsides (click-bait articles), but overall it allows for content to be widely available and consumable by everyone, not just the ones who could afford it.
The use of ad-blockers deprives the content creators of that revenue. As such, I do think there is a moral question present when one uses them. That’s why I usually buy a subscription for websites I frequently visit, or support them via donations. In cases when that’s not possible, I whitelist them to skip ad-blocking (assuming they have sane ad placement), so that even though I never click on ads (except for misclicks), they do count my visits towards ad impressions.
De-clutering the websites you visit, saving on bandwidth and battery life, are not the only benefits of ad blocking. Restricting web-tracking is a more important side of it, in my opinion. While the technique was pioneered by Google, the number of companies tracking people across the web has sky-rocketed. Unfortunately, unlike Google or Facebook, these companies do not offer the user any services in return. In this situation, the ad-blocking is the only way for a user to regain control over who tracks their web visits and who doesn’t.
Installing F-Droid
As I previously mentioned, F-Droid is an app-store for open-source Android projects. In times where even simple apps such as interval timers come with in-app purchases, F-Droid is a great place to find software whose source code you can actually review (if you have time).
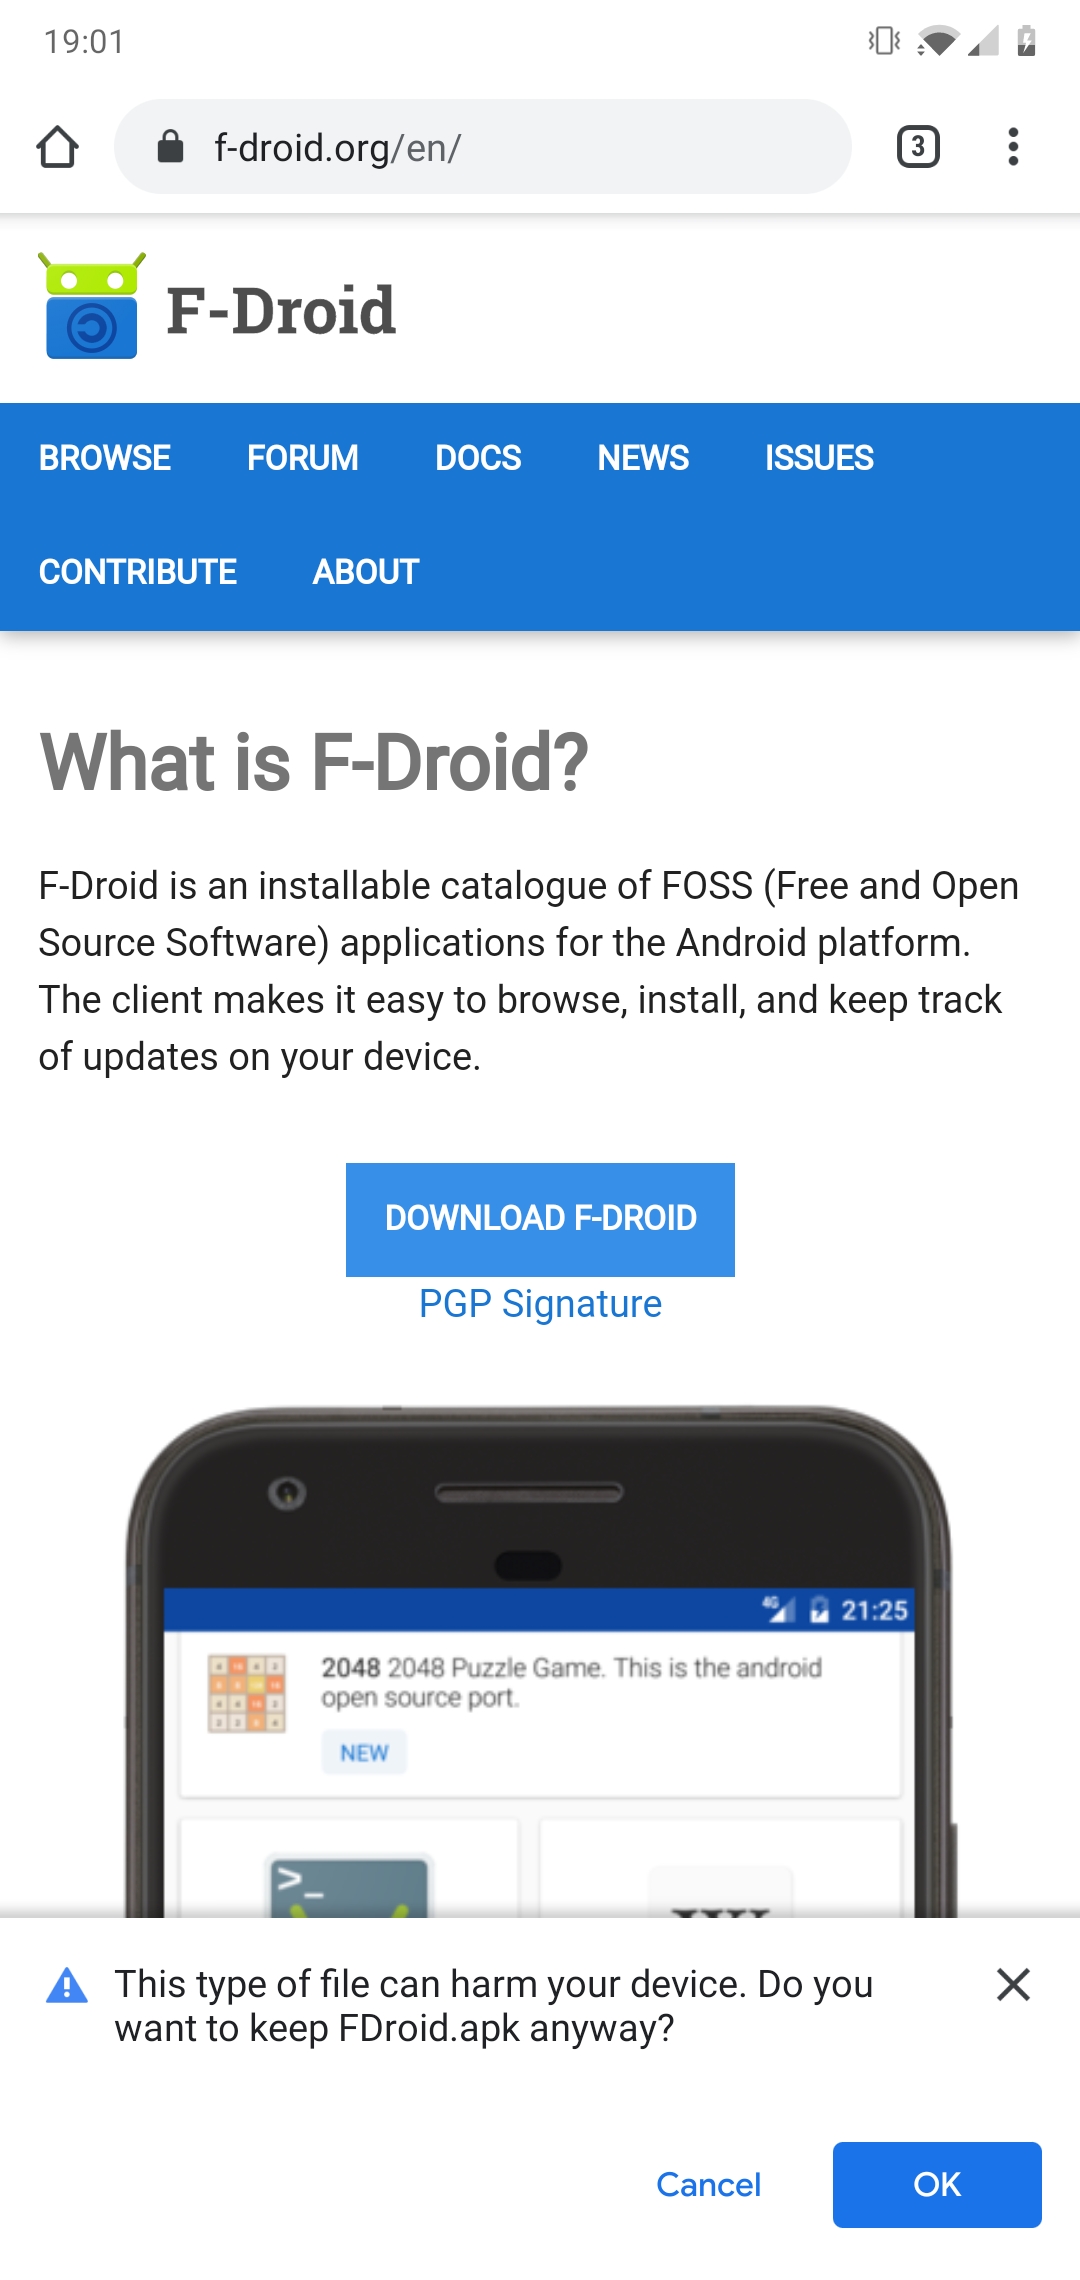
Download F-Droid from their website
In order to install F-Droid, one needs to download the APK from their website. You may need to whitelist Chrome (or your browser) as a trusted source for app installation. For that, enter Settings > Apps & notifications & > Special app access > Install unknown apps and set Chrome (or your browser) to Allowed.
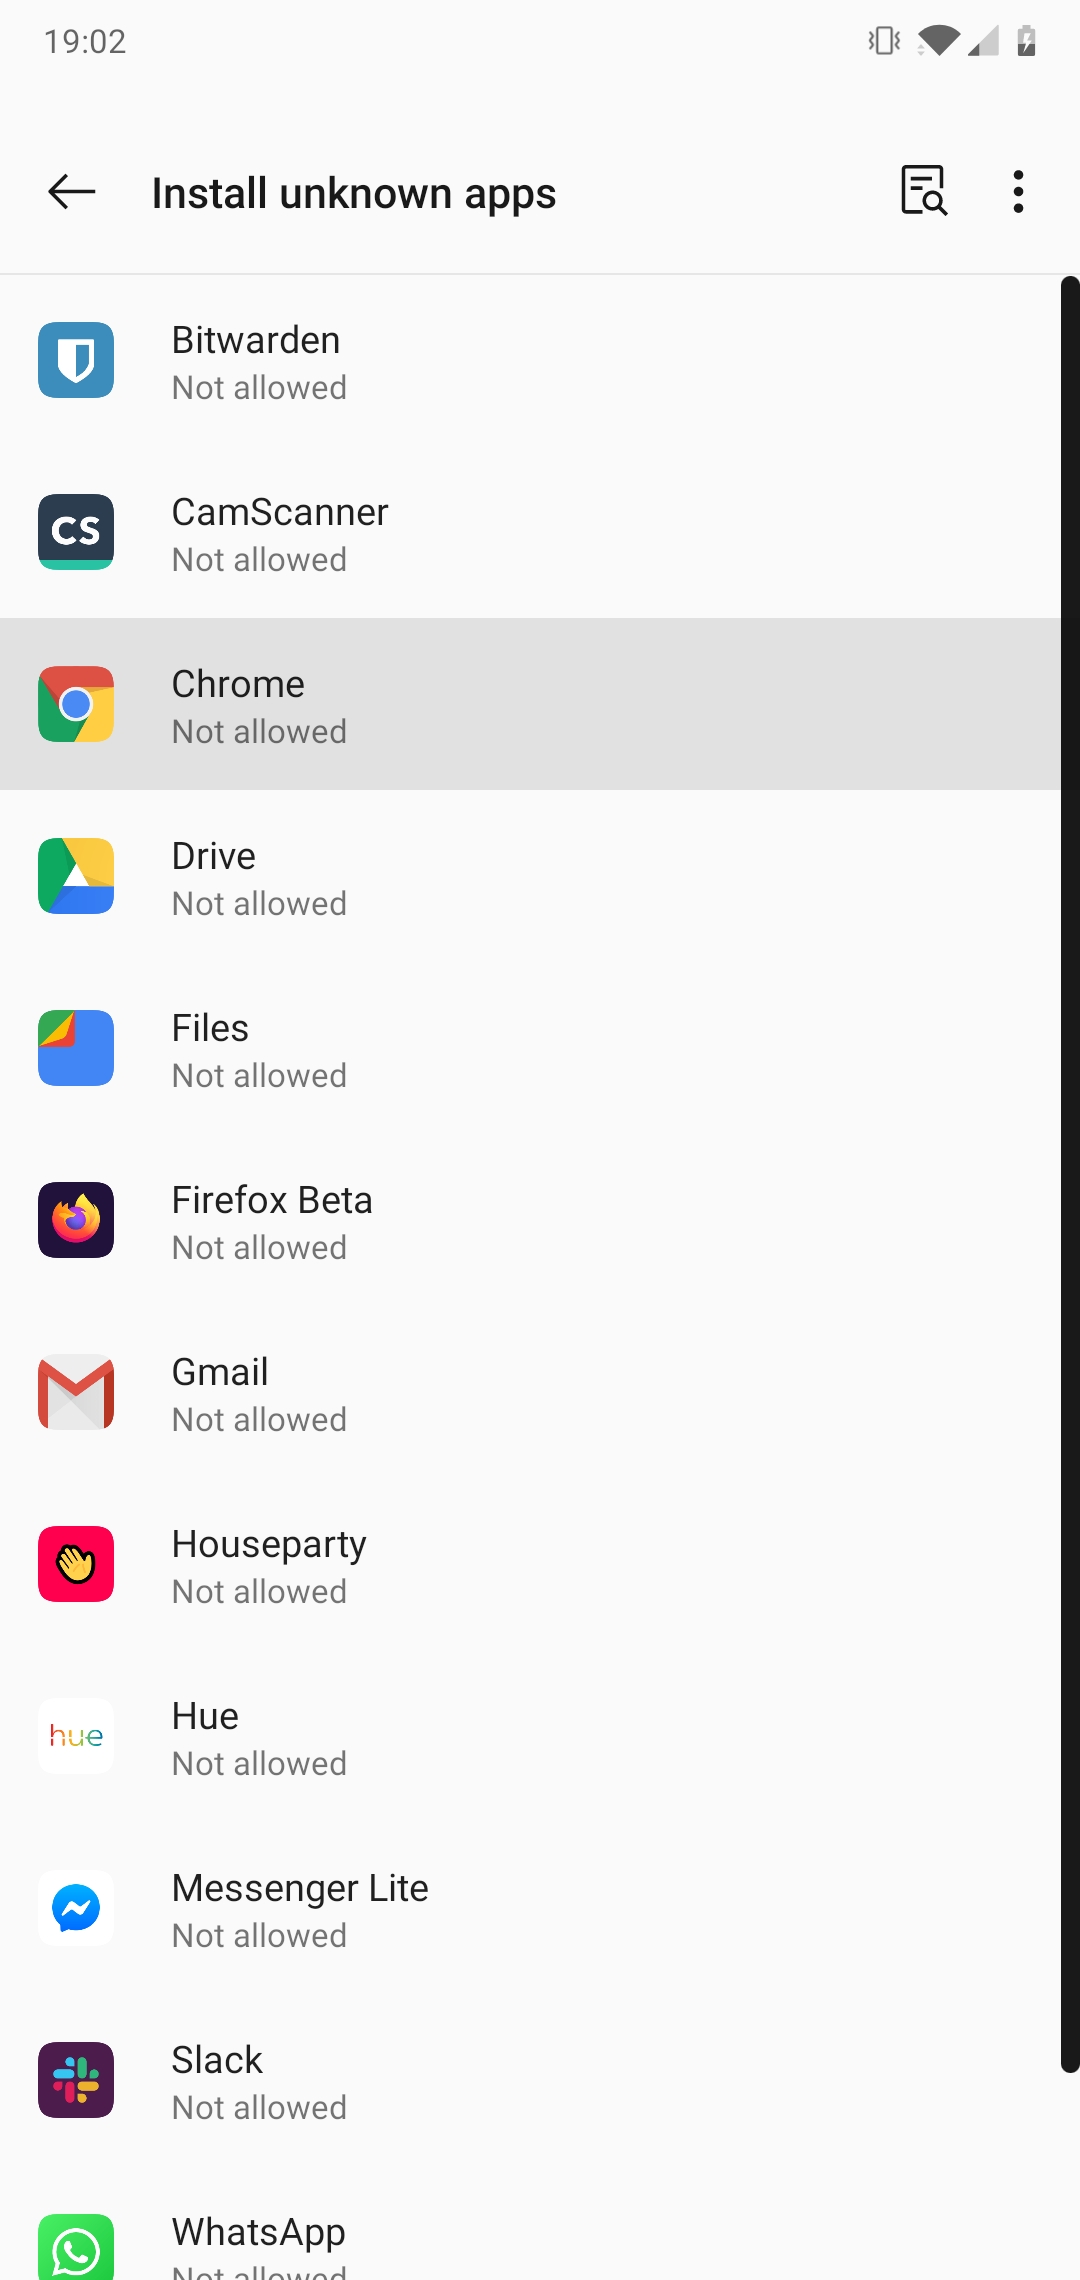
Whitelist app sources to enable Chrome
After successfully installing F-Droid you should whitelist F-Droid, as well by setting it to Allowed under Install unknown apps. At the same time, do yourself a favour, and disable the permission for Chrome (or your browser( by setting it to Not allowed.
At this point you should be able to install multiple open-source apps by using F-Droids search bar, but you will still not find Blokada there.
Installing and setting up Blokada
Installing Blokada takes an extra step. Follow this link on your Android phone. It will prompt you to add a new repository (Blokada self-publishes) to F-Droid. After a quick sync, you will be able to search for it and install it.
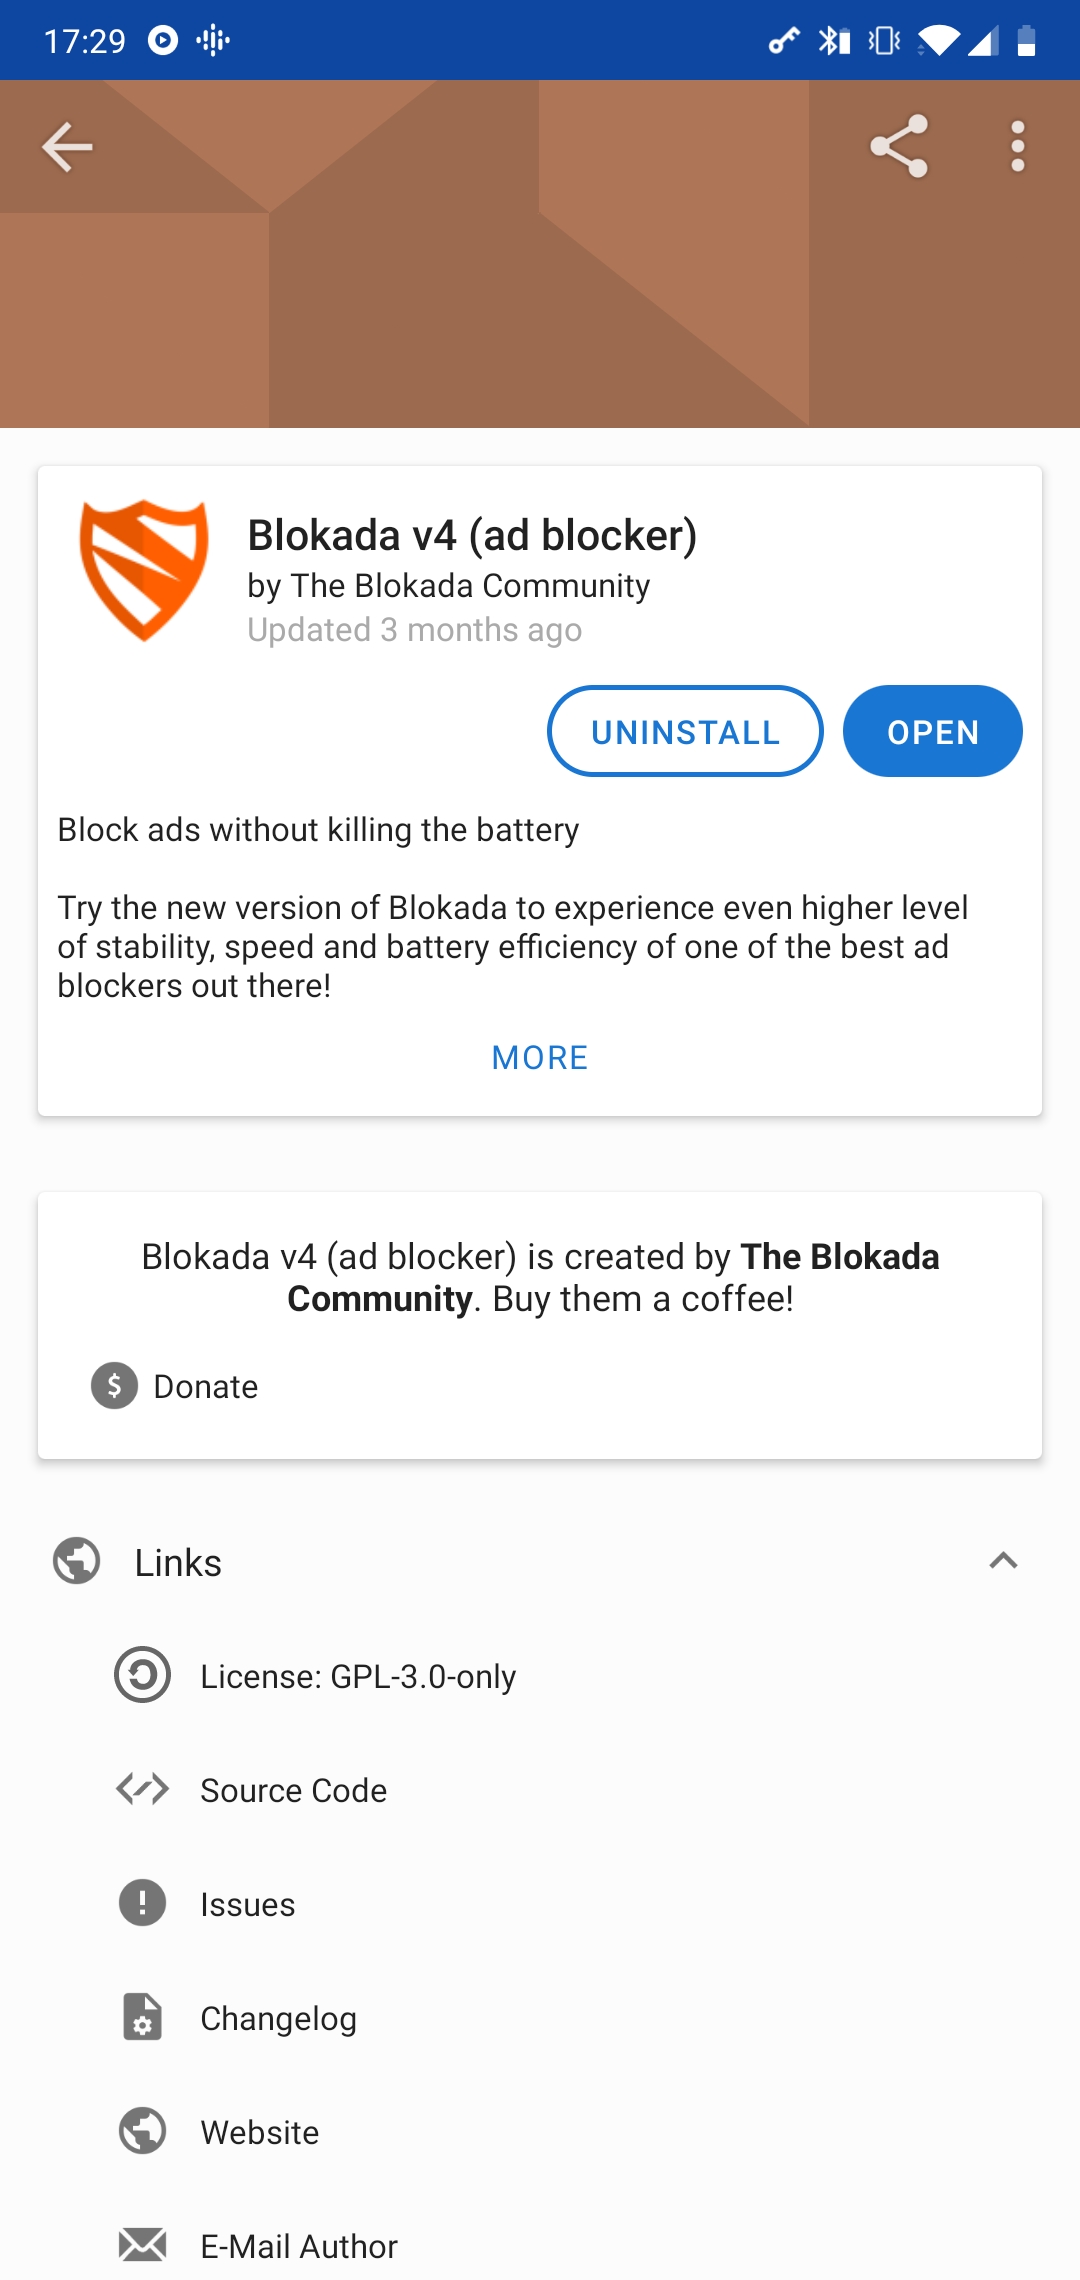
Install blokada from F-Droid
Once installed, Blokada presents you with a UI that has bells and whistles, and can distract you from what you’re actually trying to do: configure it. Swipe from the bottom of the main screen to enter configuration.
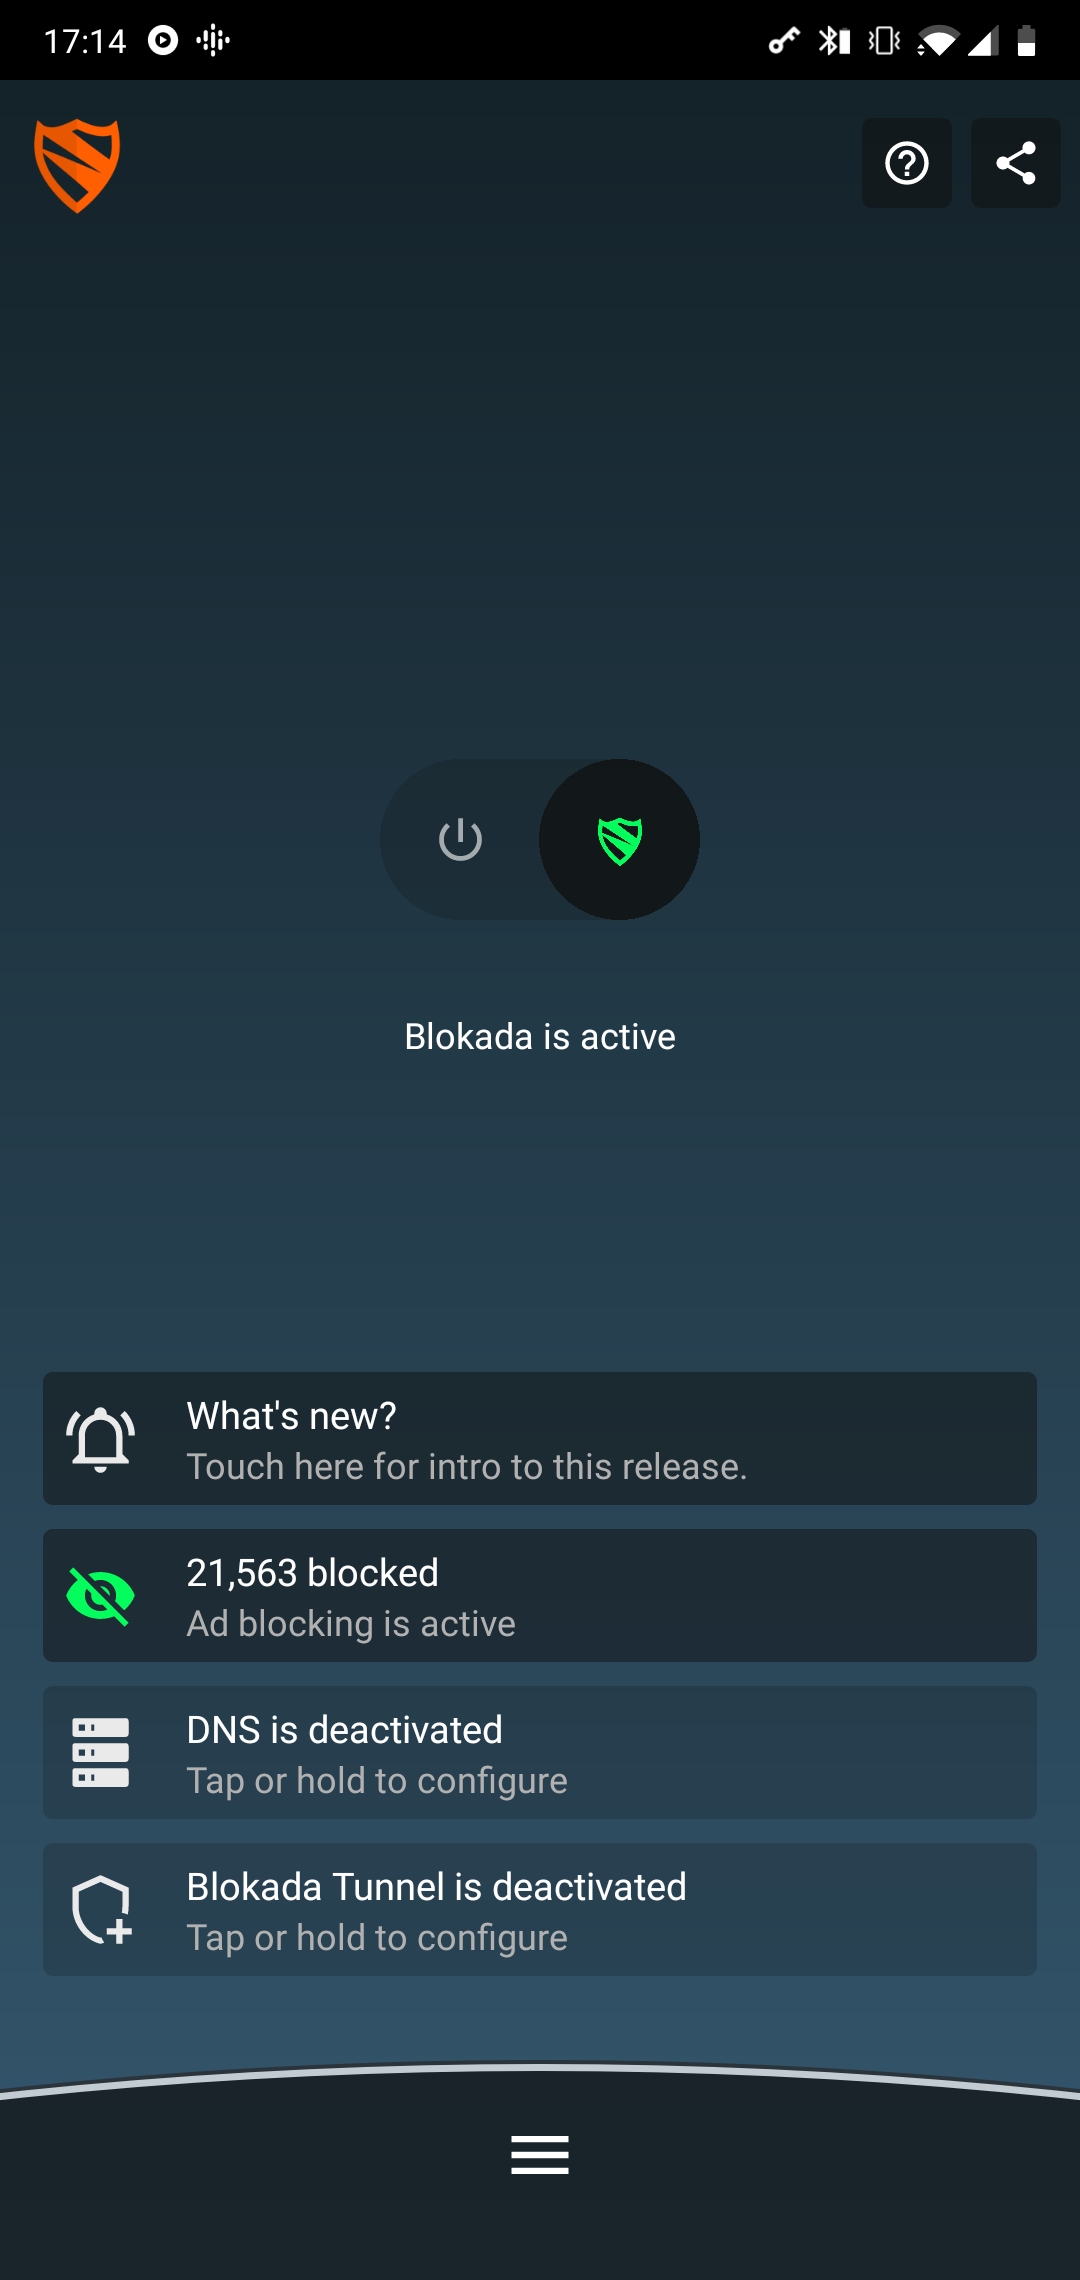
The clean, but still confusing Blokada main screen
Configuring Blokada
Select Ad blocking and tick the switch at the top to enable it. This screen also allows you to configure whitelists (Allowed Hosts), and manually add blacklist entries for yourself (Blocked Hosts). In general, though, the list of hosts will come from a Hosts List, of which Blokada offers many. For some odd reason the default one didn’t download for me so I set it to StevenBlock Unified, which works like a charm.
Blokada also allows you to whitelist whole applications to bypass its whole functionality for specific apps. To do this, enter Apps from the settings menu and select either a user-installed app or a system-level app to bypass the settings. Handily, it comes preconfigured with a lot of important bypasses (e.g. Google services), but I found I needed to add Signal manually to have some of its features work.
Note about DNS configuration
One thing that Blokada allows you to do is to set a different DNS server to the one you have been configured via your WiFi or mobile data connection. This, theoretically, allows you to use good DNS services such as Cloudflare DNS (1.1.1.1) or Google DNS (8.8.8.8), however I found that enabling that setting may mess with your local network service discovery (e.g. Chromecasts).
What if app/site doesn’t work
It may so happen, that a particular website or app malfunctions due to the ad-blocking. Most commonly, it’s because their Javascript assumes certain tracking features load before the main functionality gets triggered.
For that purpose it is handy to have a quick access icon in the Android’s notification drawer to disable/re-enable Blokada filtering.
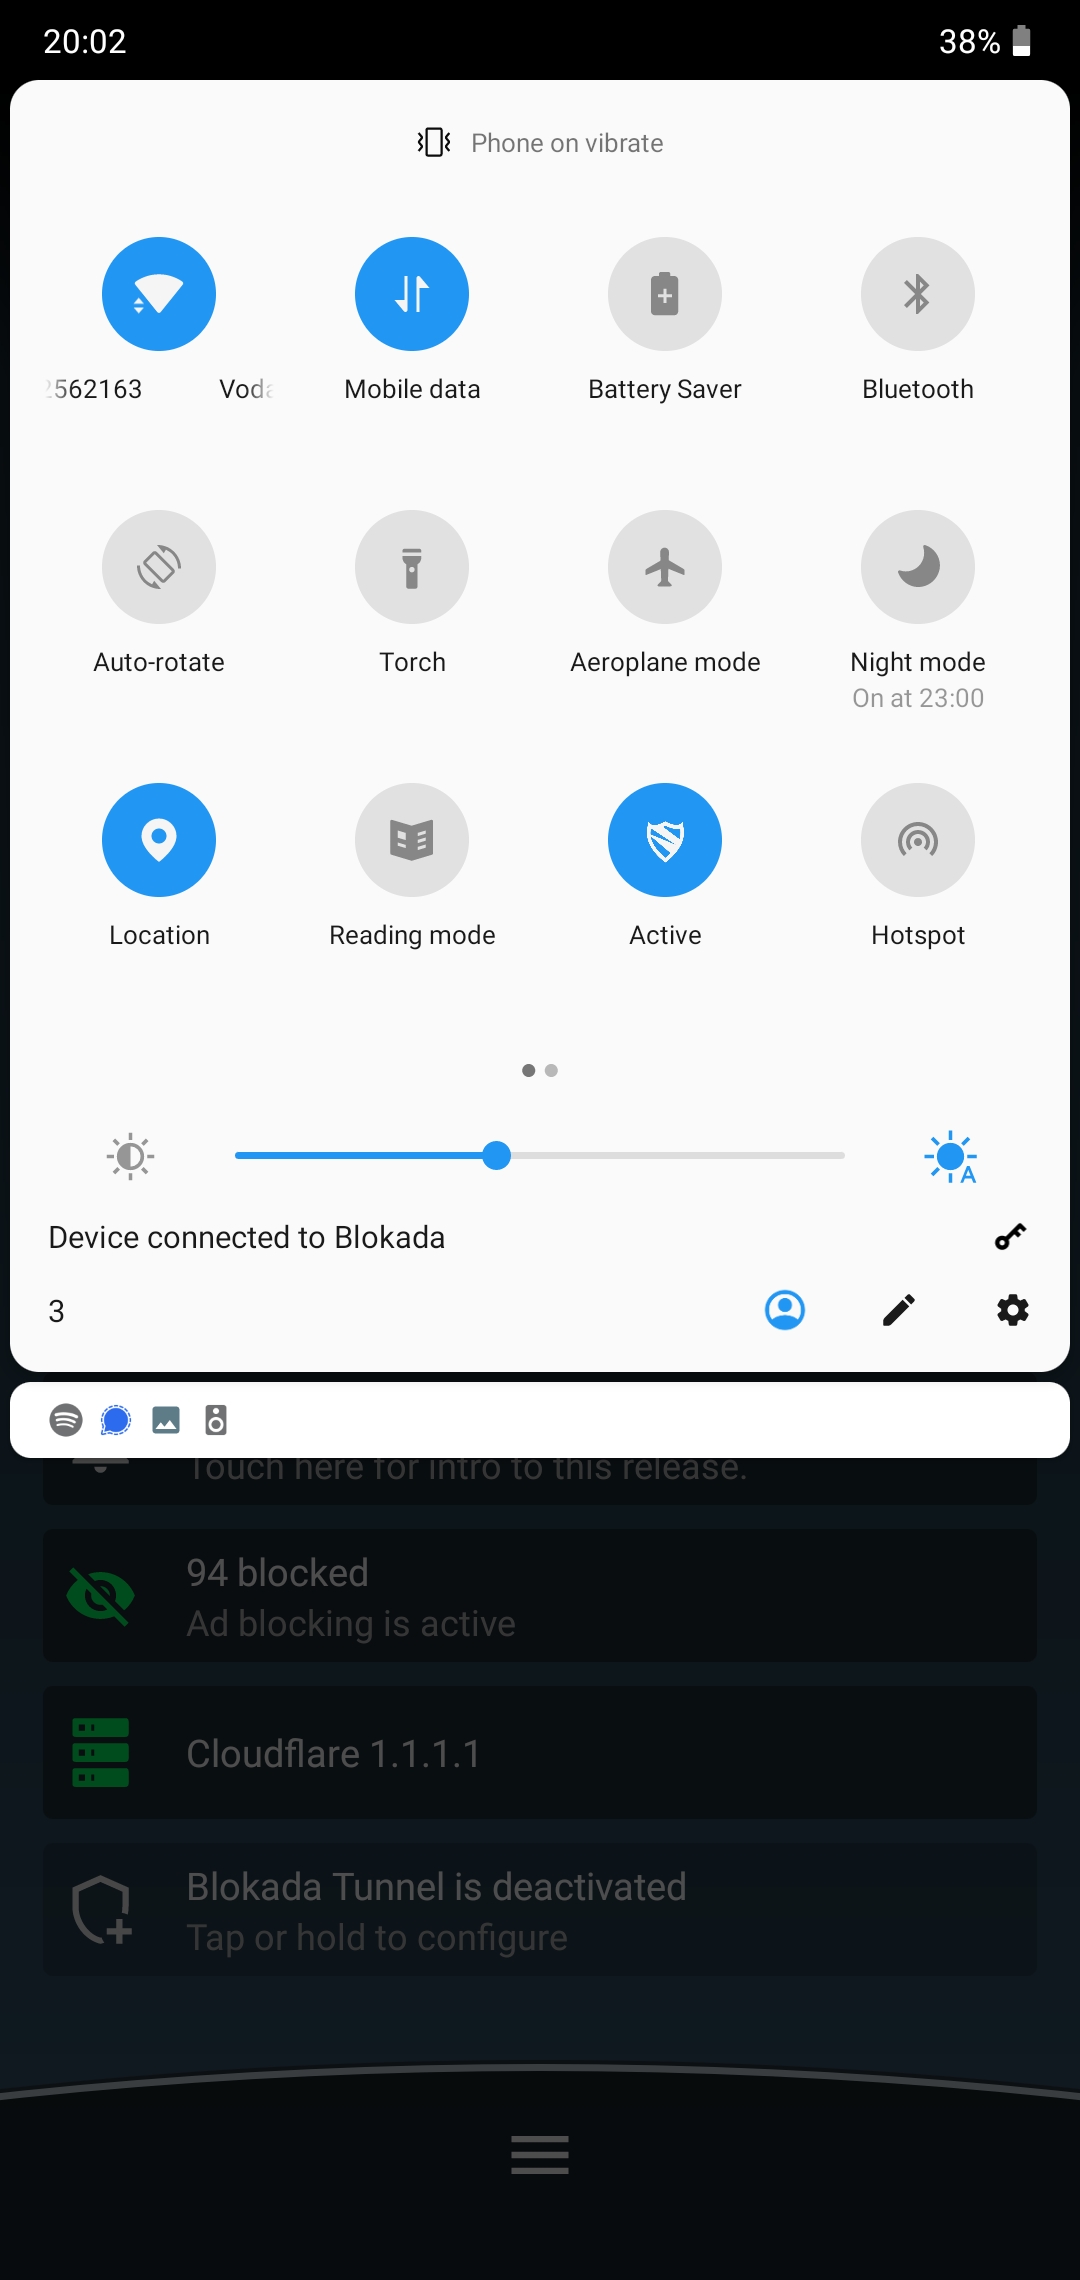
The enable/disable button is super handy
To add the Blokada button to your Android notification drawer, open the drawer and click the small “Settings” cog.
Results
The impact will be fairly self-evident: websites will load faster and have blank spaces in place of adds, and some ad-supported apps will have blank ad spaces. While I noticed a small increase in battery longevity, the biggest impact is in avoiding accidental ad-clicks that detract me from doing what I actually want to do.
Enjoy.